How to reuse candle jars to make more candles
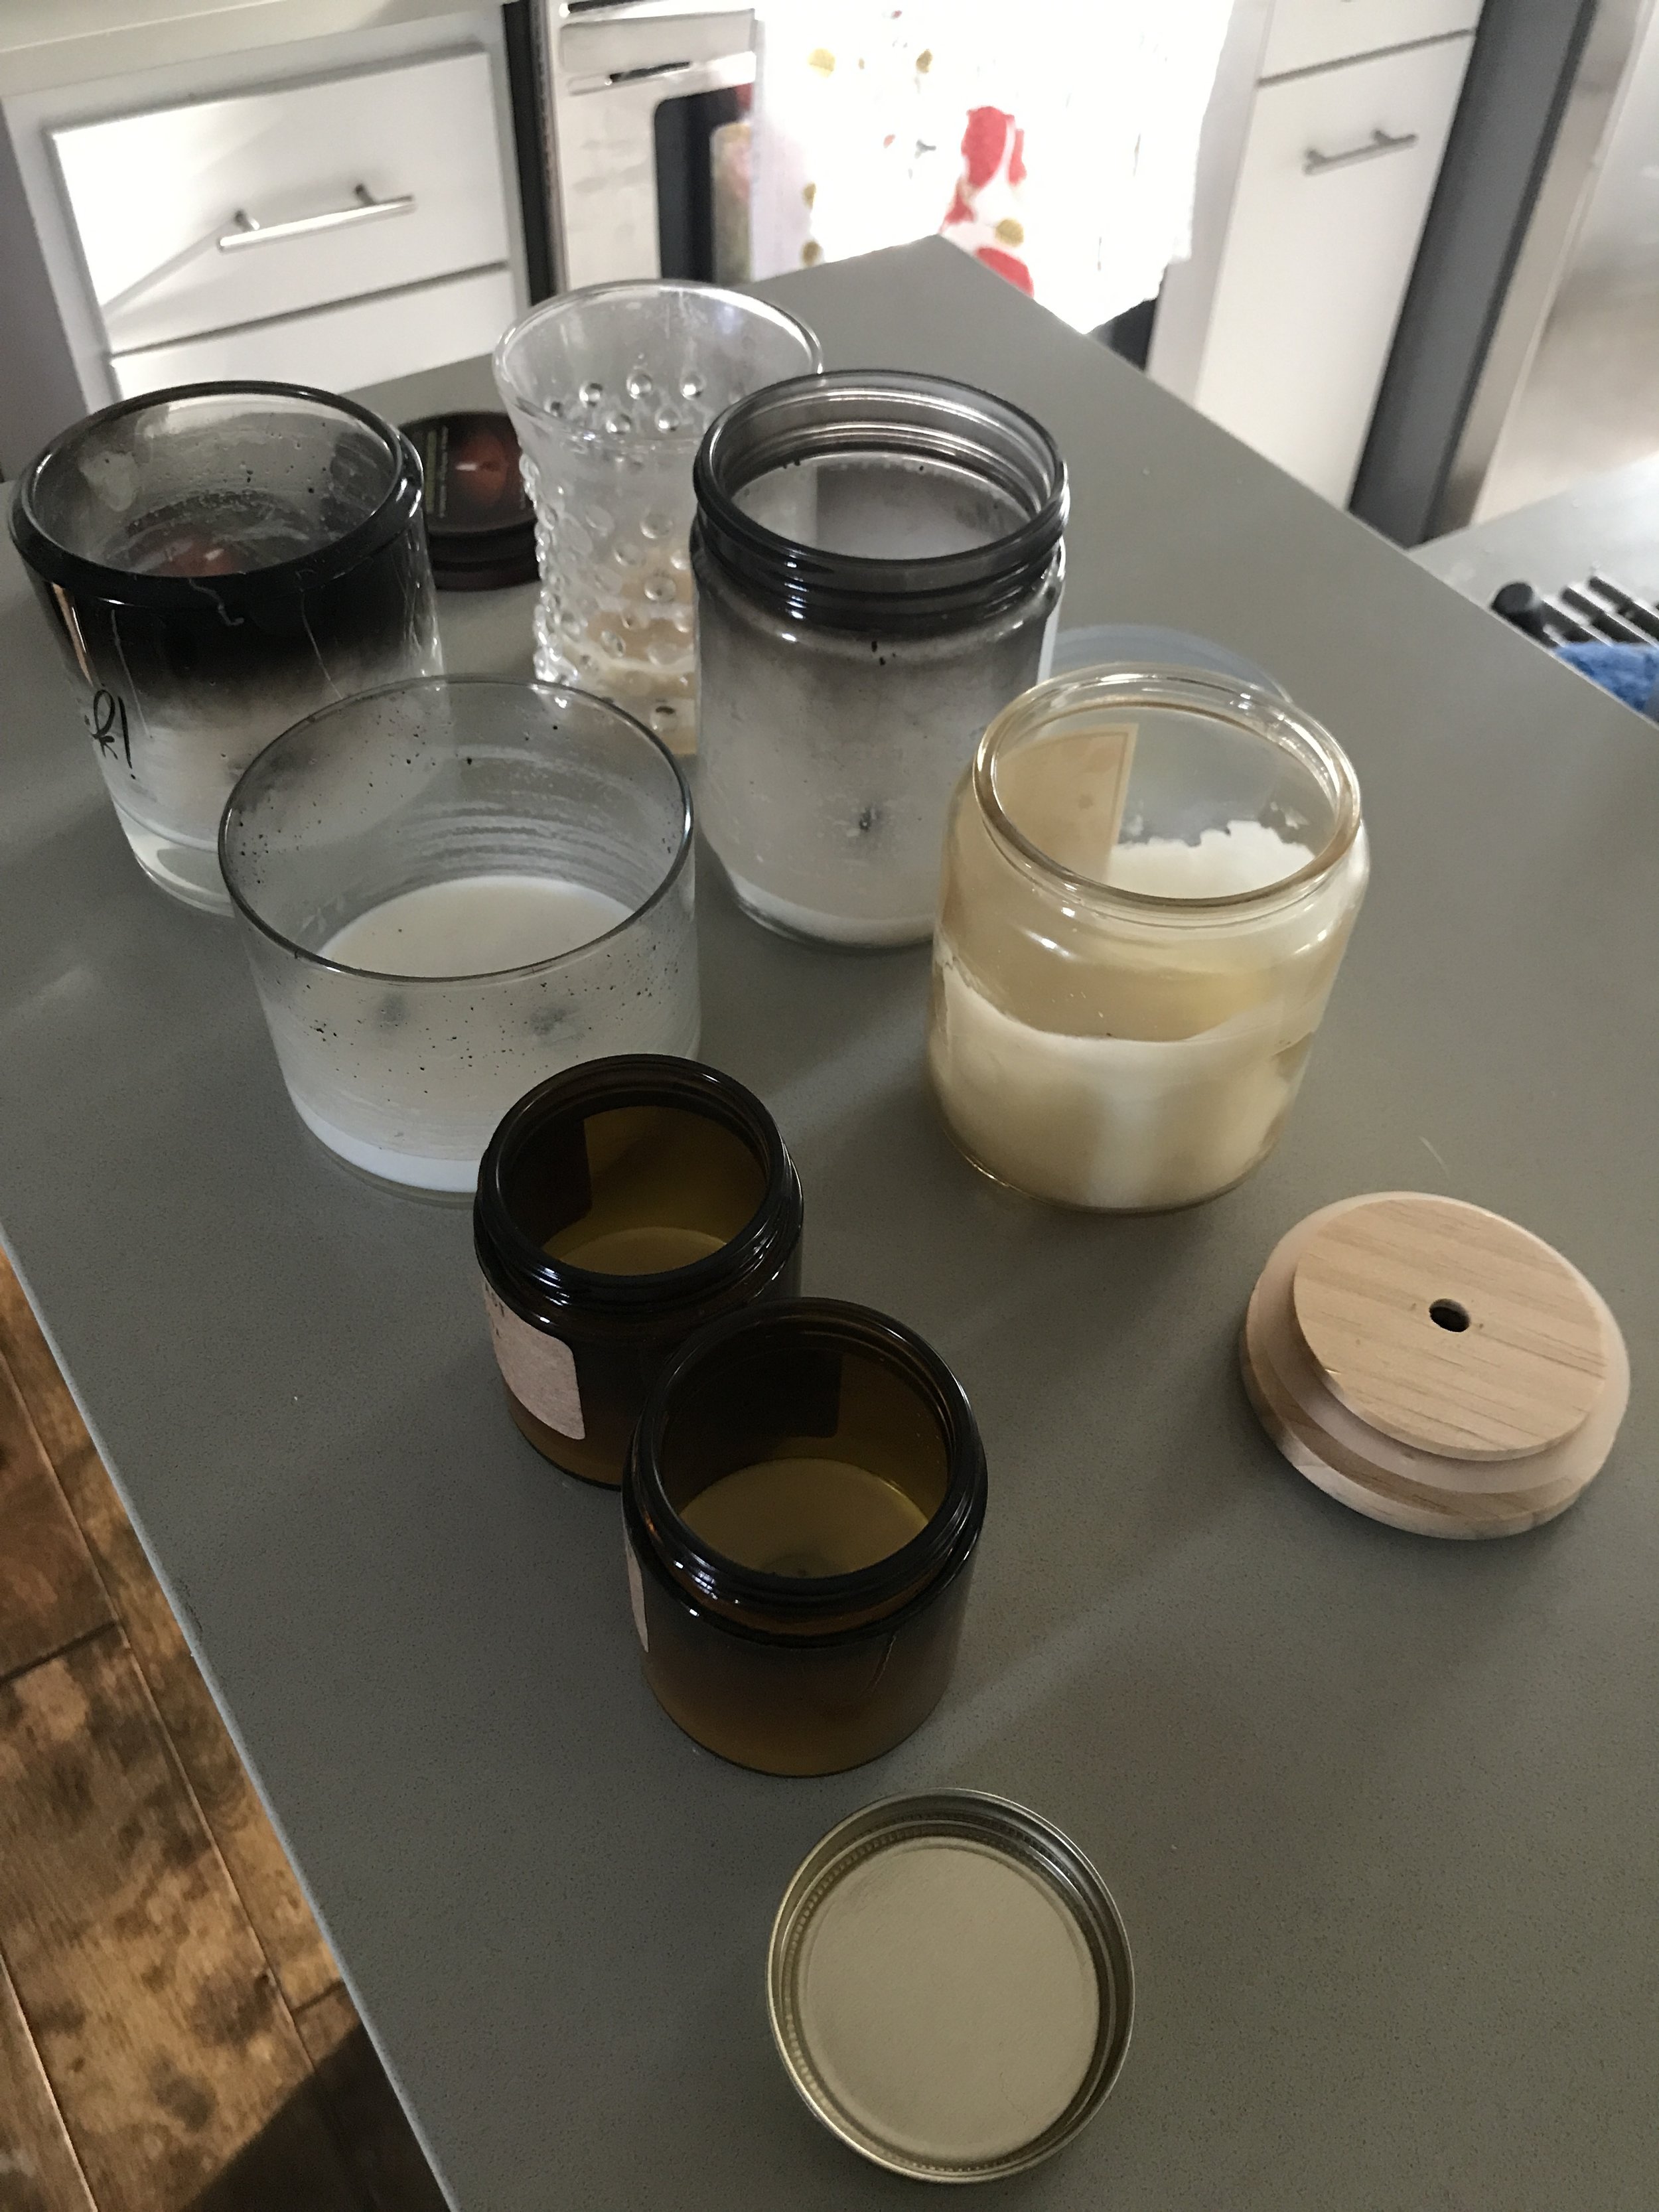
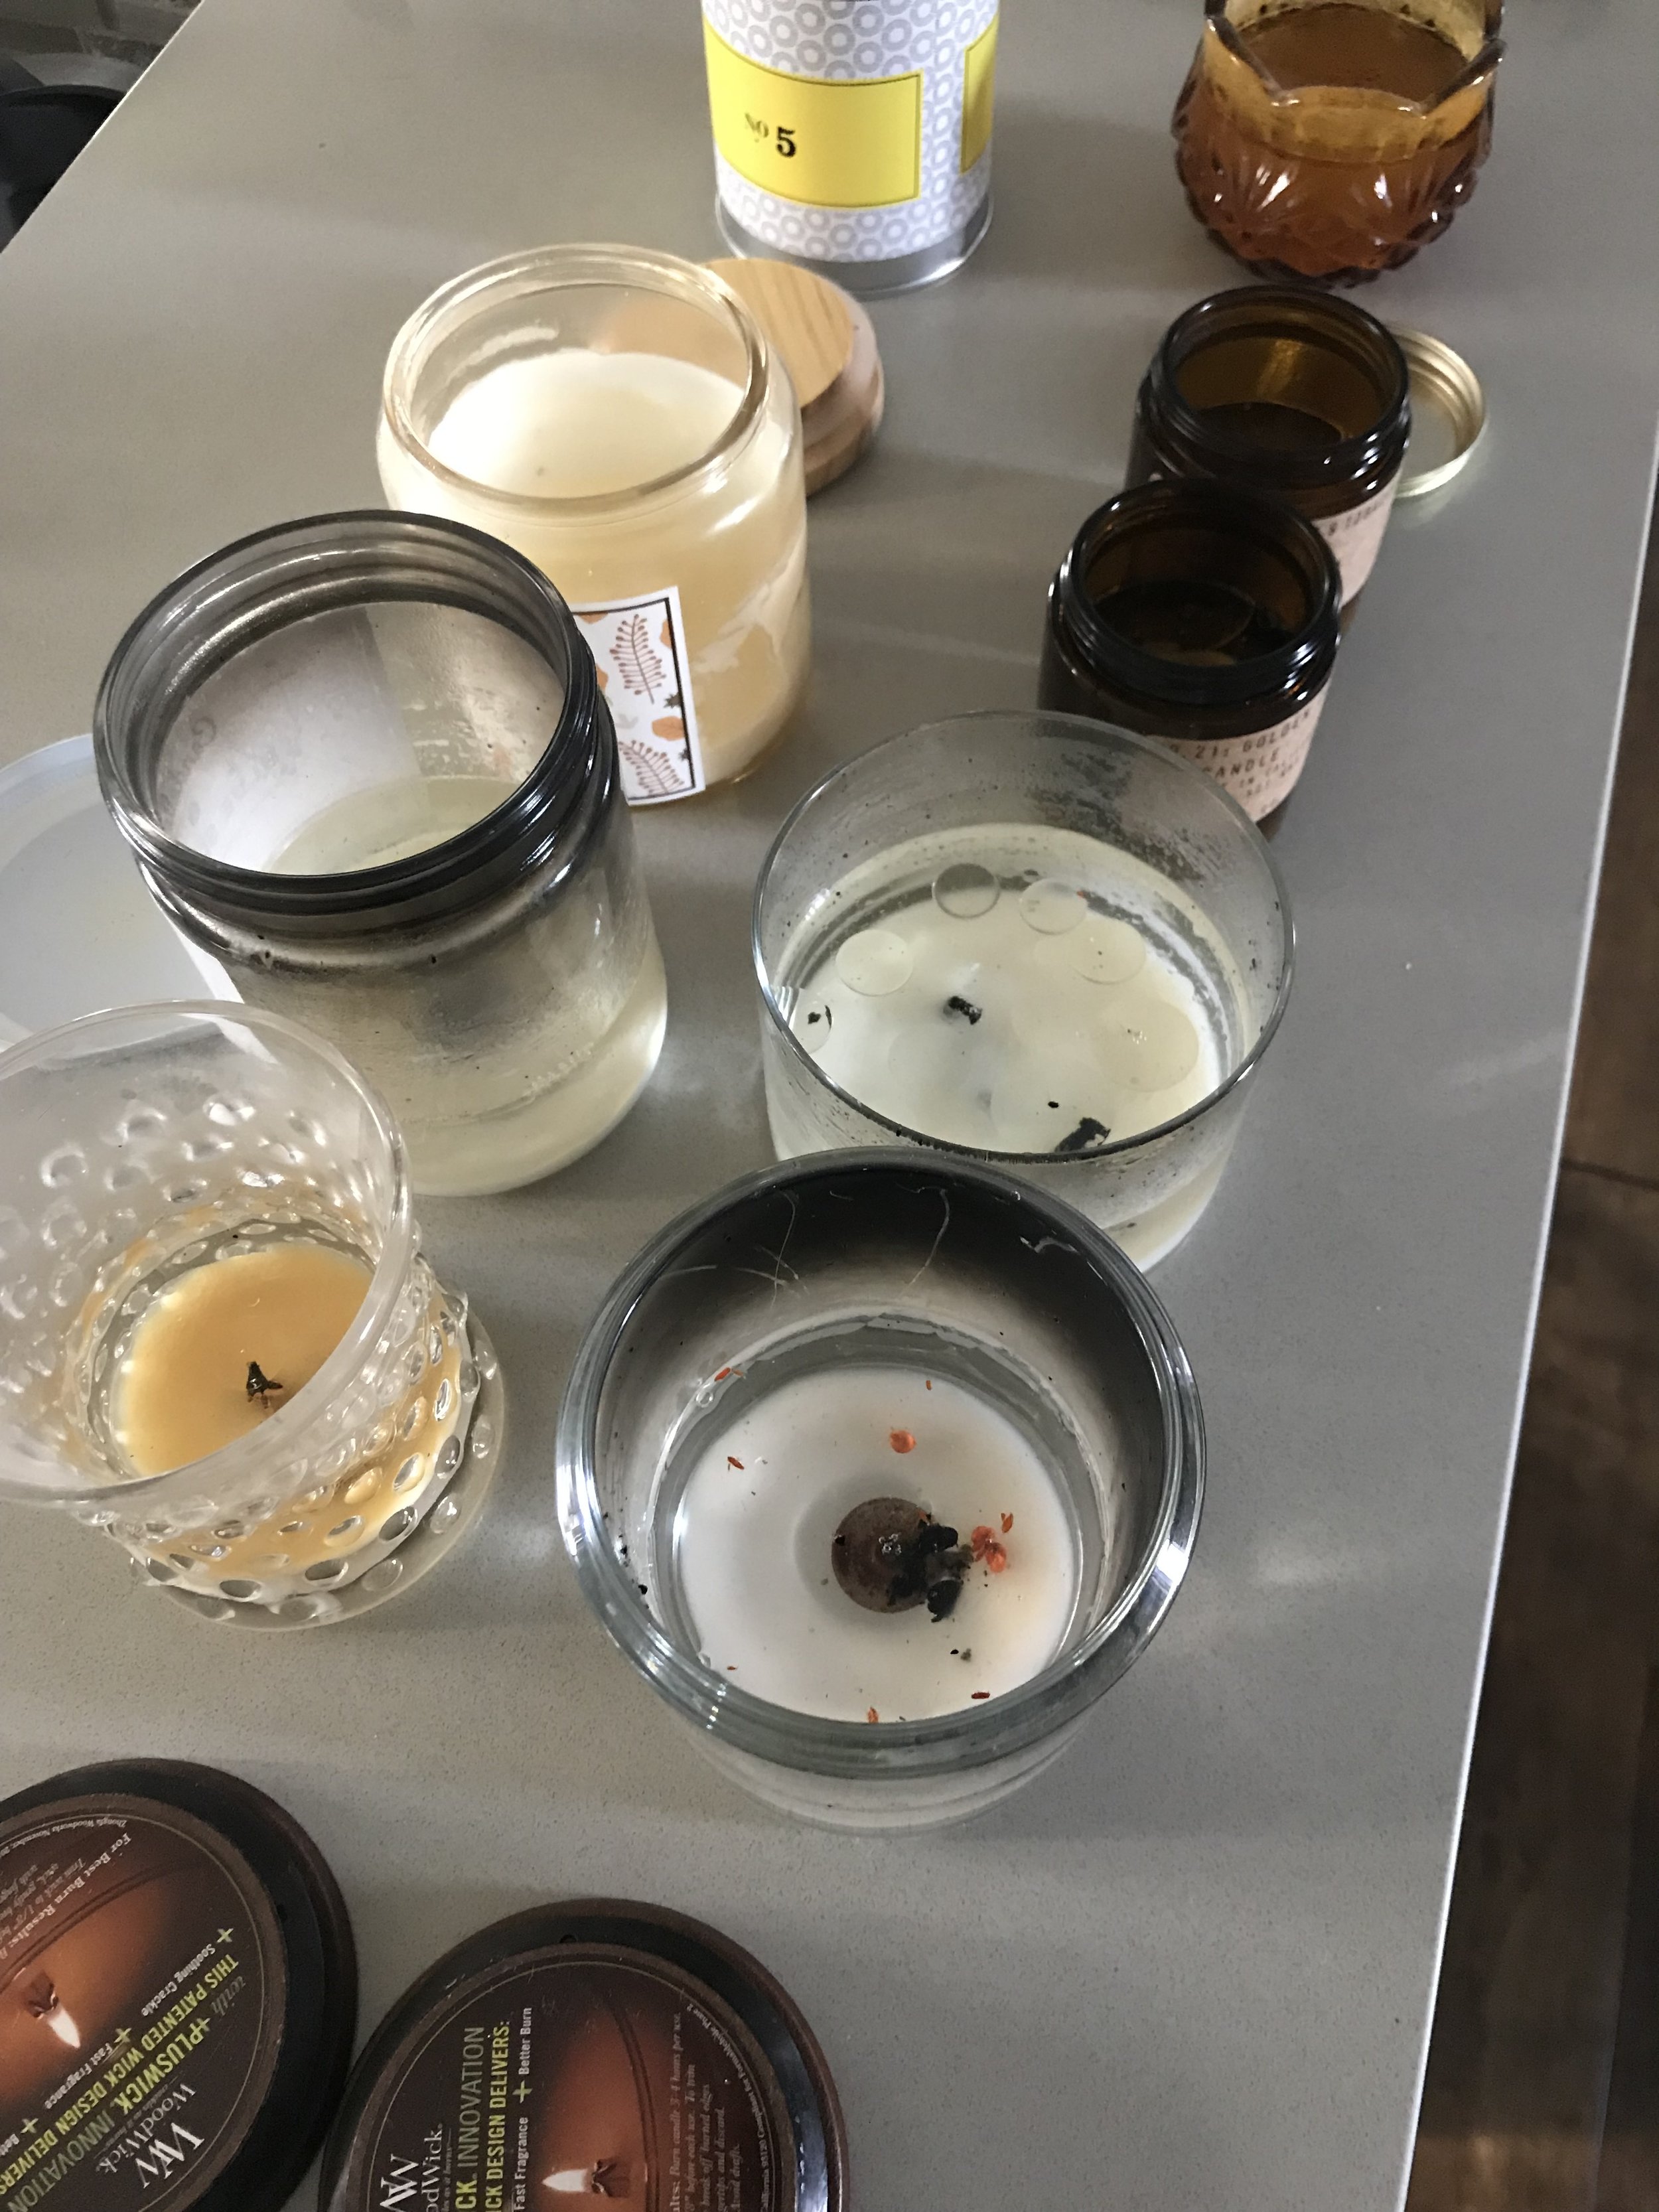
I don’t know about you, but I am o-b-s-e-s-s-ed with candles. They smell so good and make your home instantly so cozy. You might’ve guessed by now that I go through a LOT of candles. I started feeling so guilty about throwing away all the jars and eventually started stockpiling them hoping I’d find a use for them one day. Well, I did some Googling and remembered how much I love the clean burning, lead-free, 100% American Soybean wax from the good old Midwestern Swan Creek Candle Company. You can order their candle refill wax kits online here. This is so much more affordable and earth-friendly than buying new every time. I’ll walk you through step by step from cleaning out your old jars to refilling them with new wax!
Supplies
old jars
microwave safe glass bowl
wooden skewers or chopsticks
hot glue gun
hot glue
scissors
ruler
electric kettle
Gather old jars and heat up water.
I used my electric kettle which was super easy. You can bring water to a boil on the stove too if you don’t have an electric kettle. Pro tip: if your jars have old labels that you want to remove, soak the jars in hot water prior to this step and they should come right off.
2. Pour boiling water into each jar and fill at least half way.
Eventually, the wax will melt and start to float to the top.
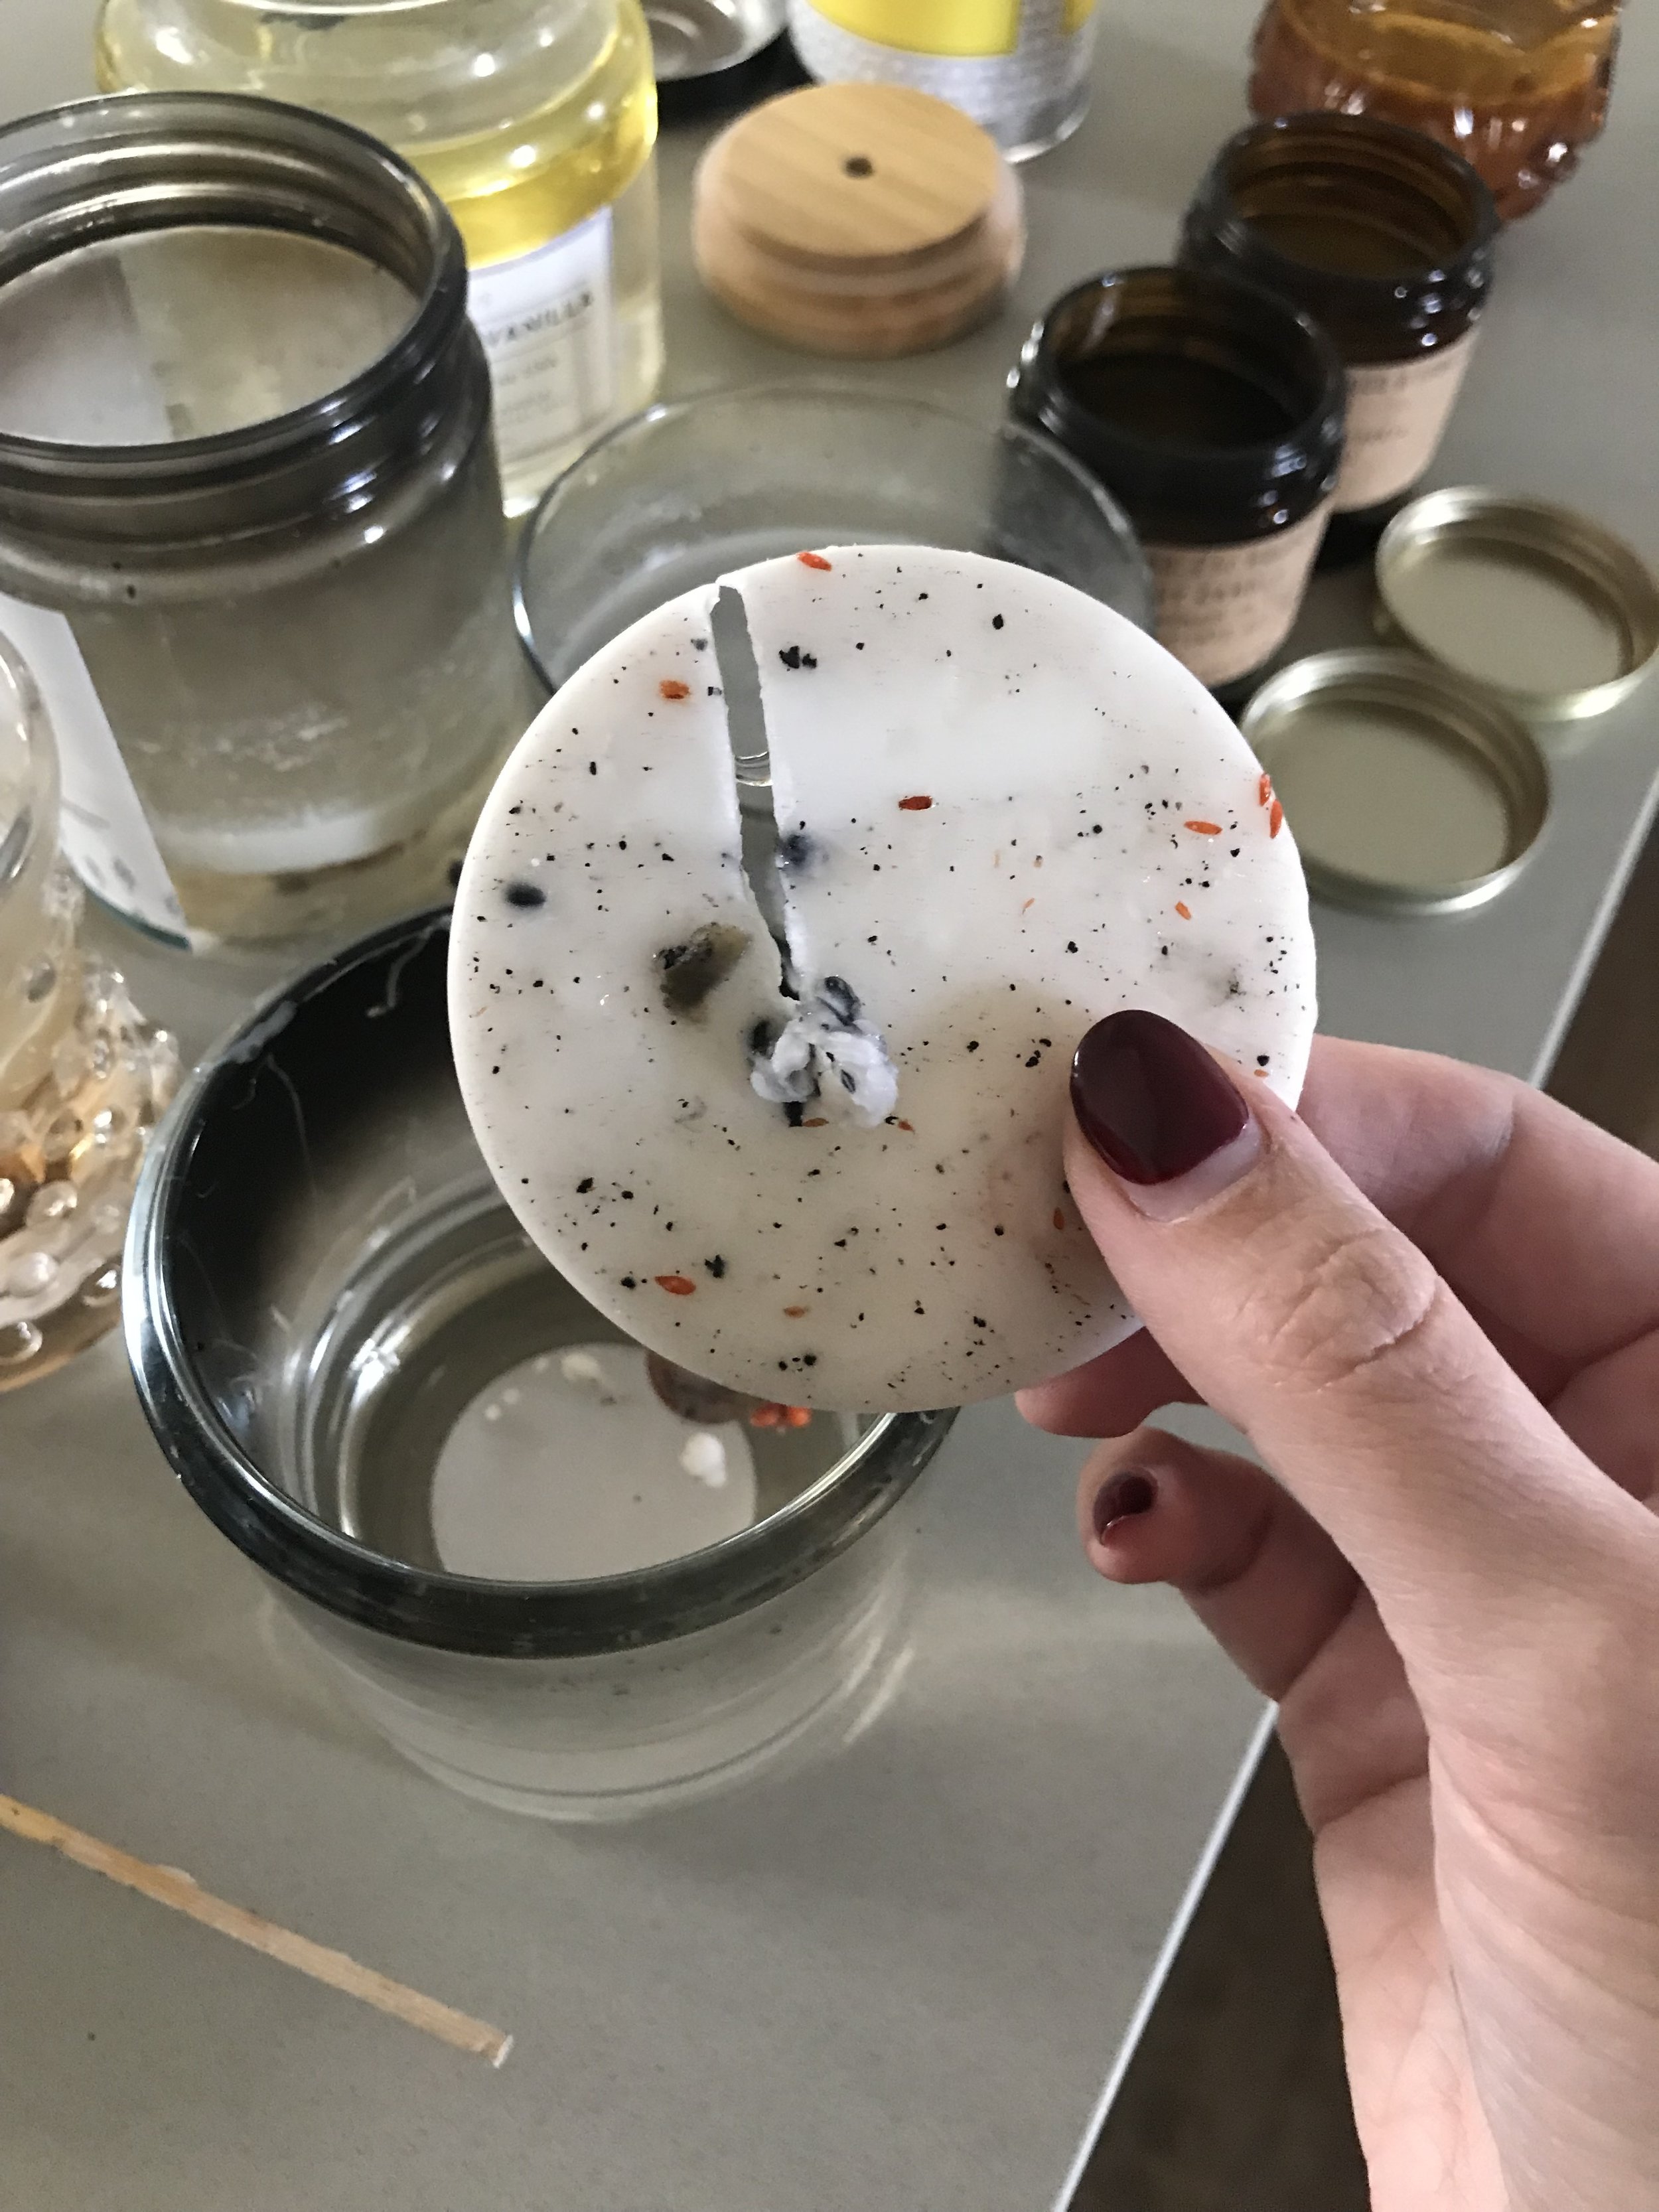
3. Wait for the wax to harden, then pop it out.
Sometimes the old wick will just fall out after soaking in the water, other times it requires a little more elbow grease. If it looks like there is enough wax to repurpose into a smaller candle (and no char chunks like in this photo), save it! You can melt it down to make votives or tea lights. Wash off your jars just like you would any other dish and dry thoroughly.
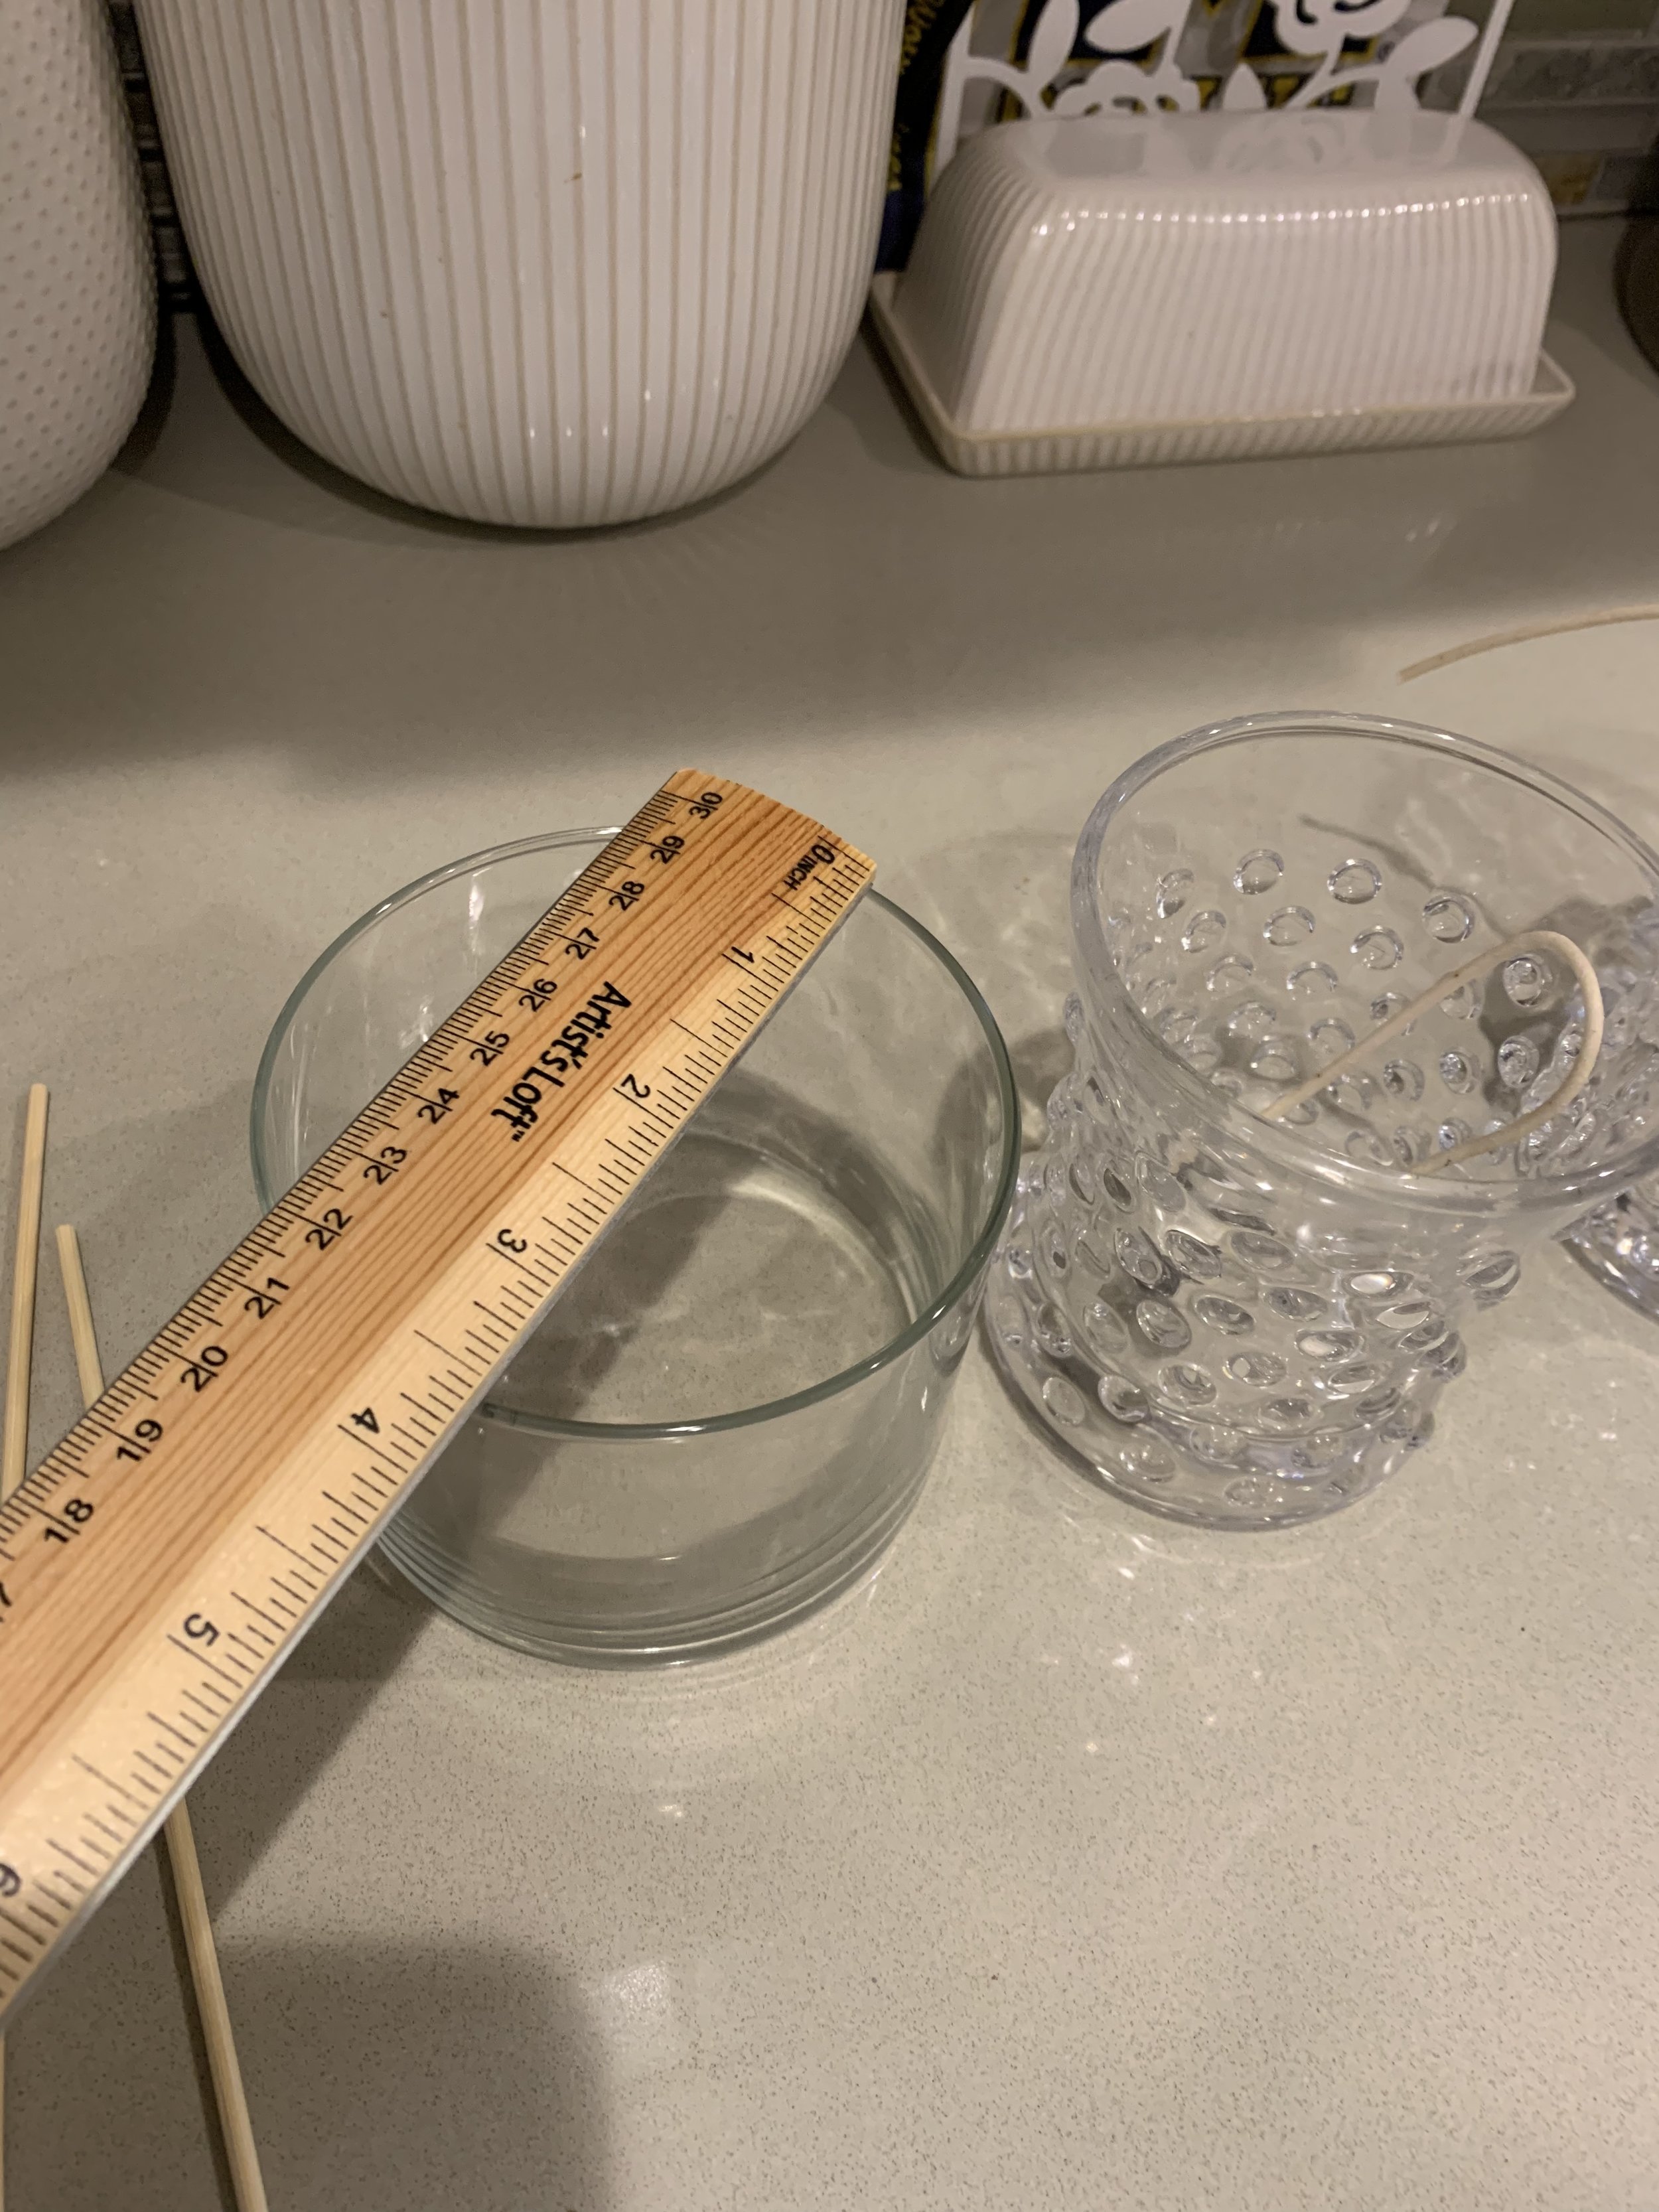
4. Measure each jar and hot glue appropriately sized wicks accordingly.
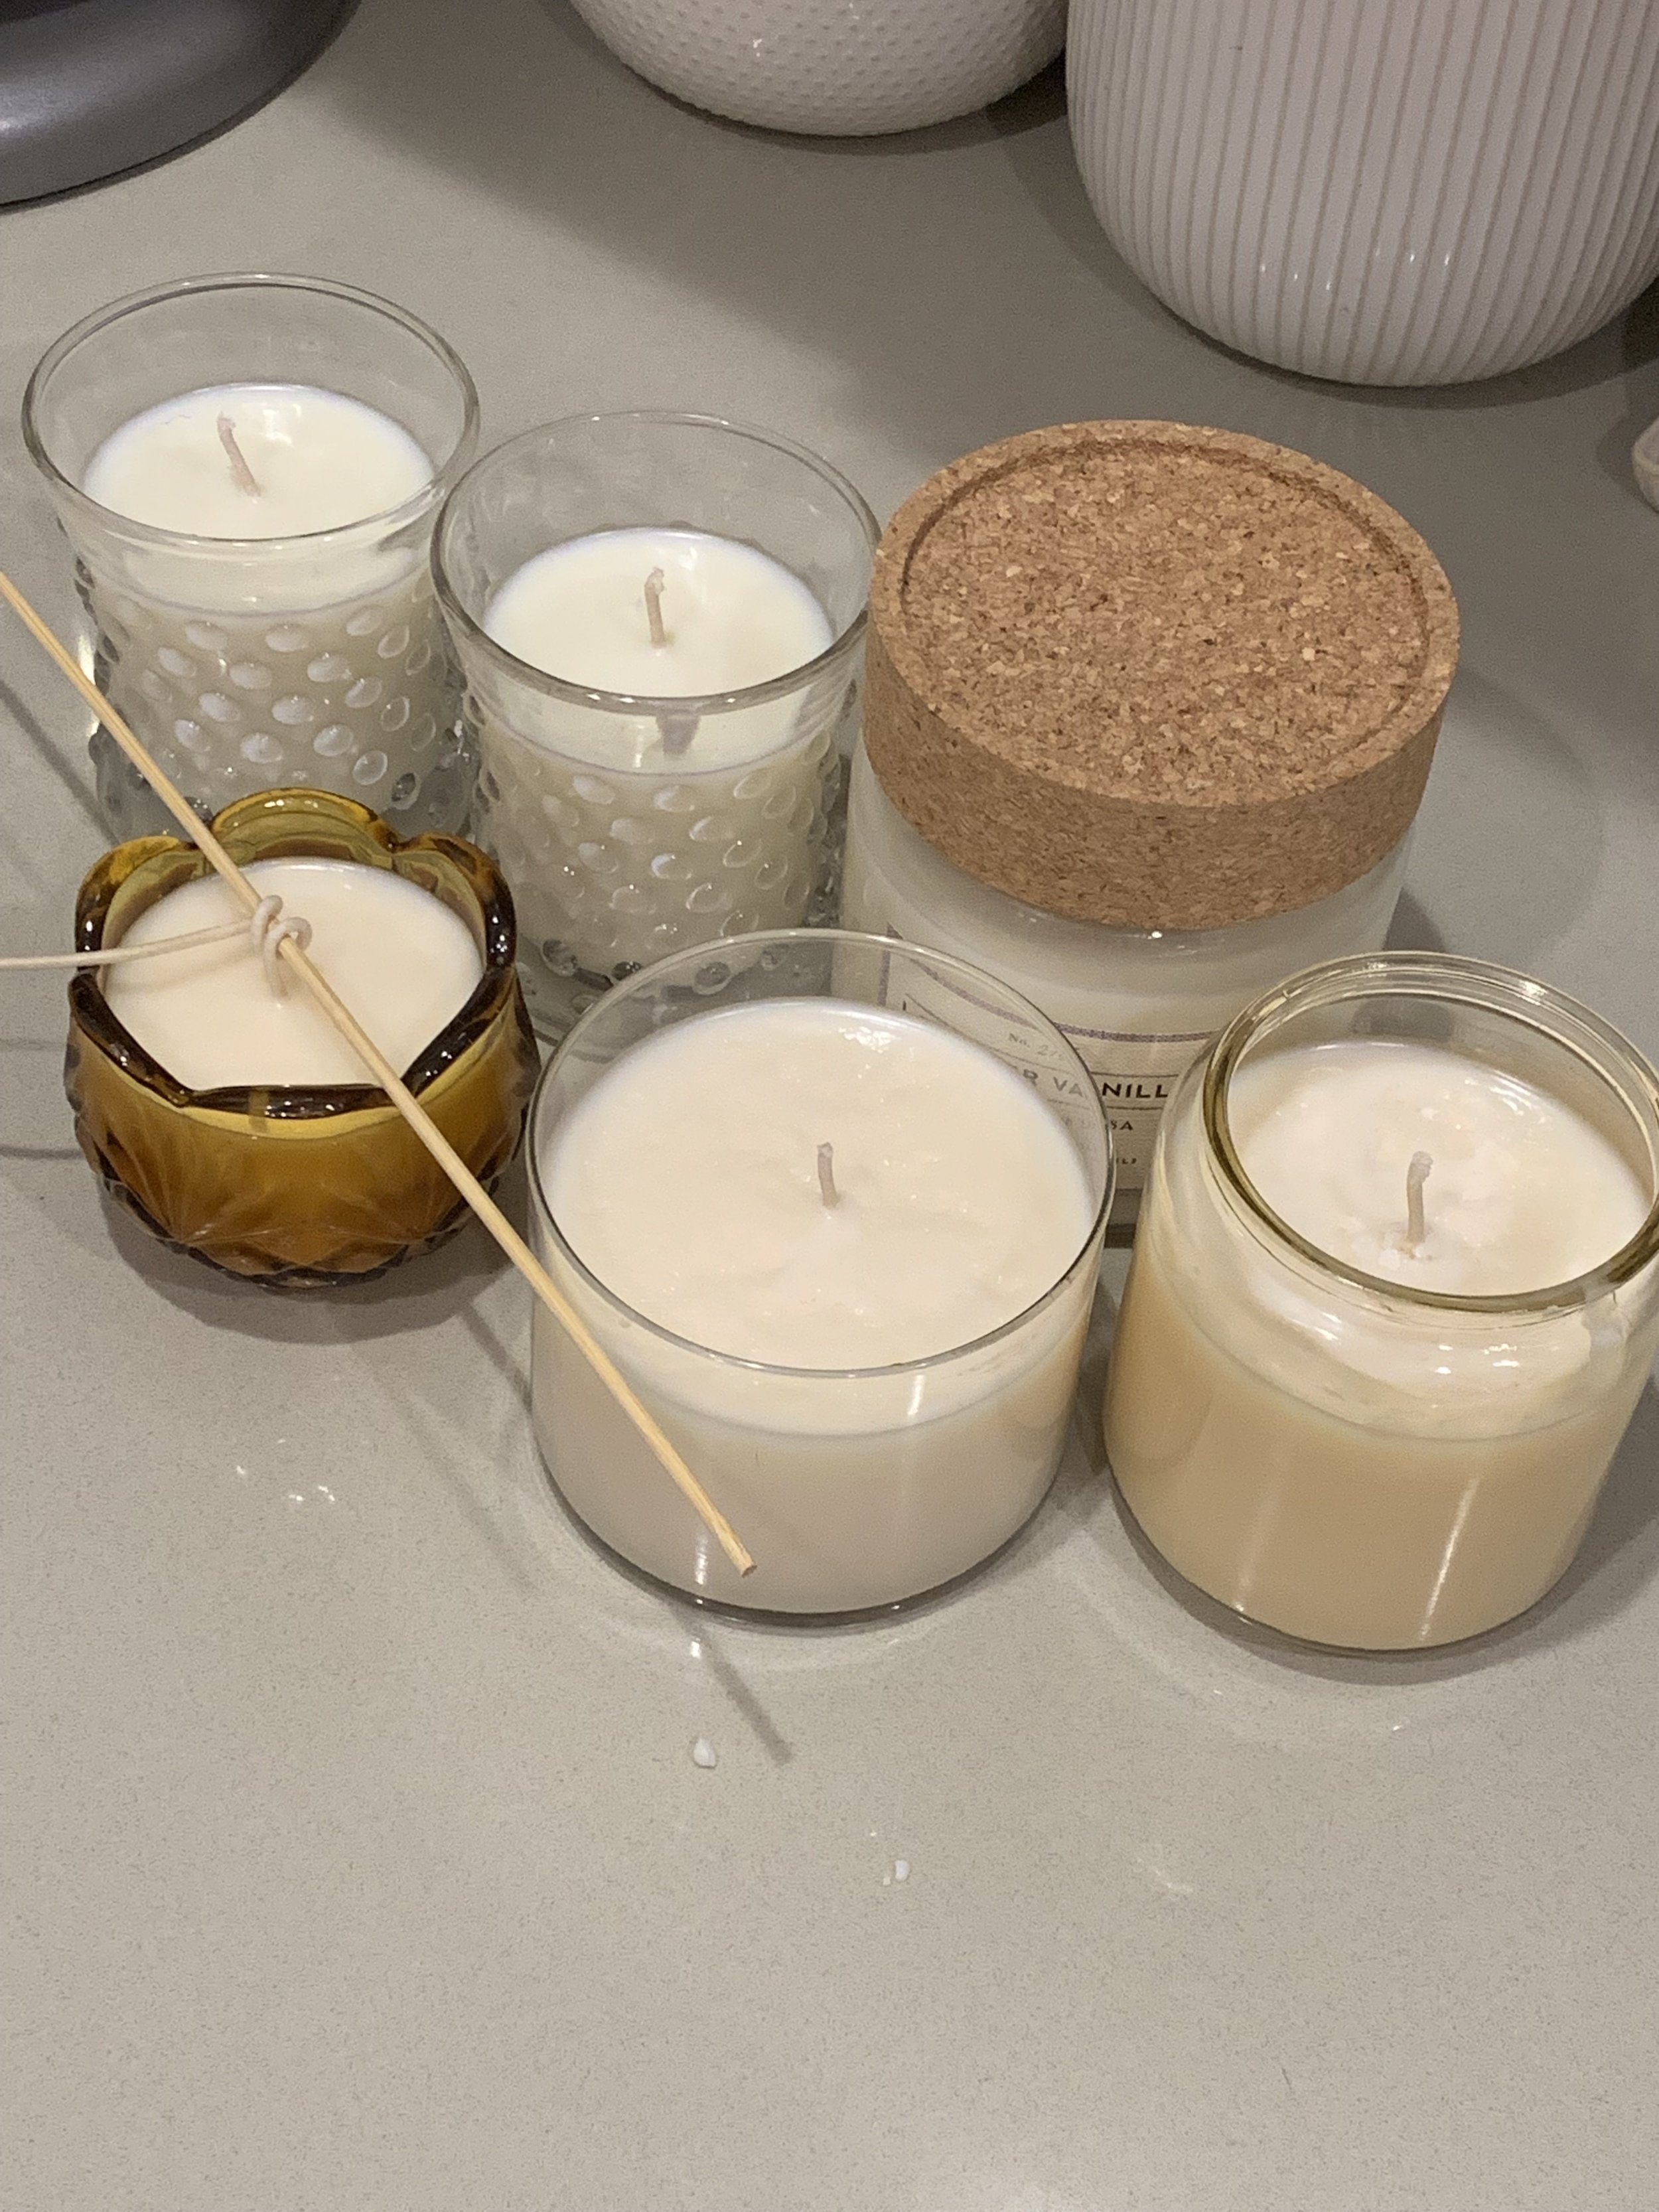
Swan Creek sells wicks based on the width of your jar. For this reason, it is helpful to measure your jars before ordering so you can be sure you have the appropriate wicks. This ensures an even burn. Use a skewer (or chopstick or similar item) to wrap the extra length of the wick around. This keeps the wick centered as the wax hardens.
5. Melt your wax.
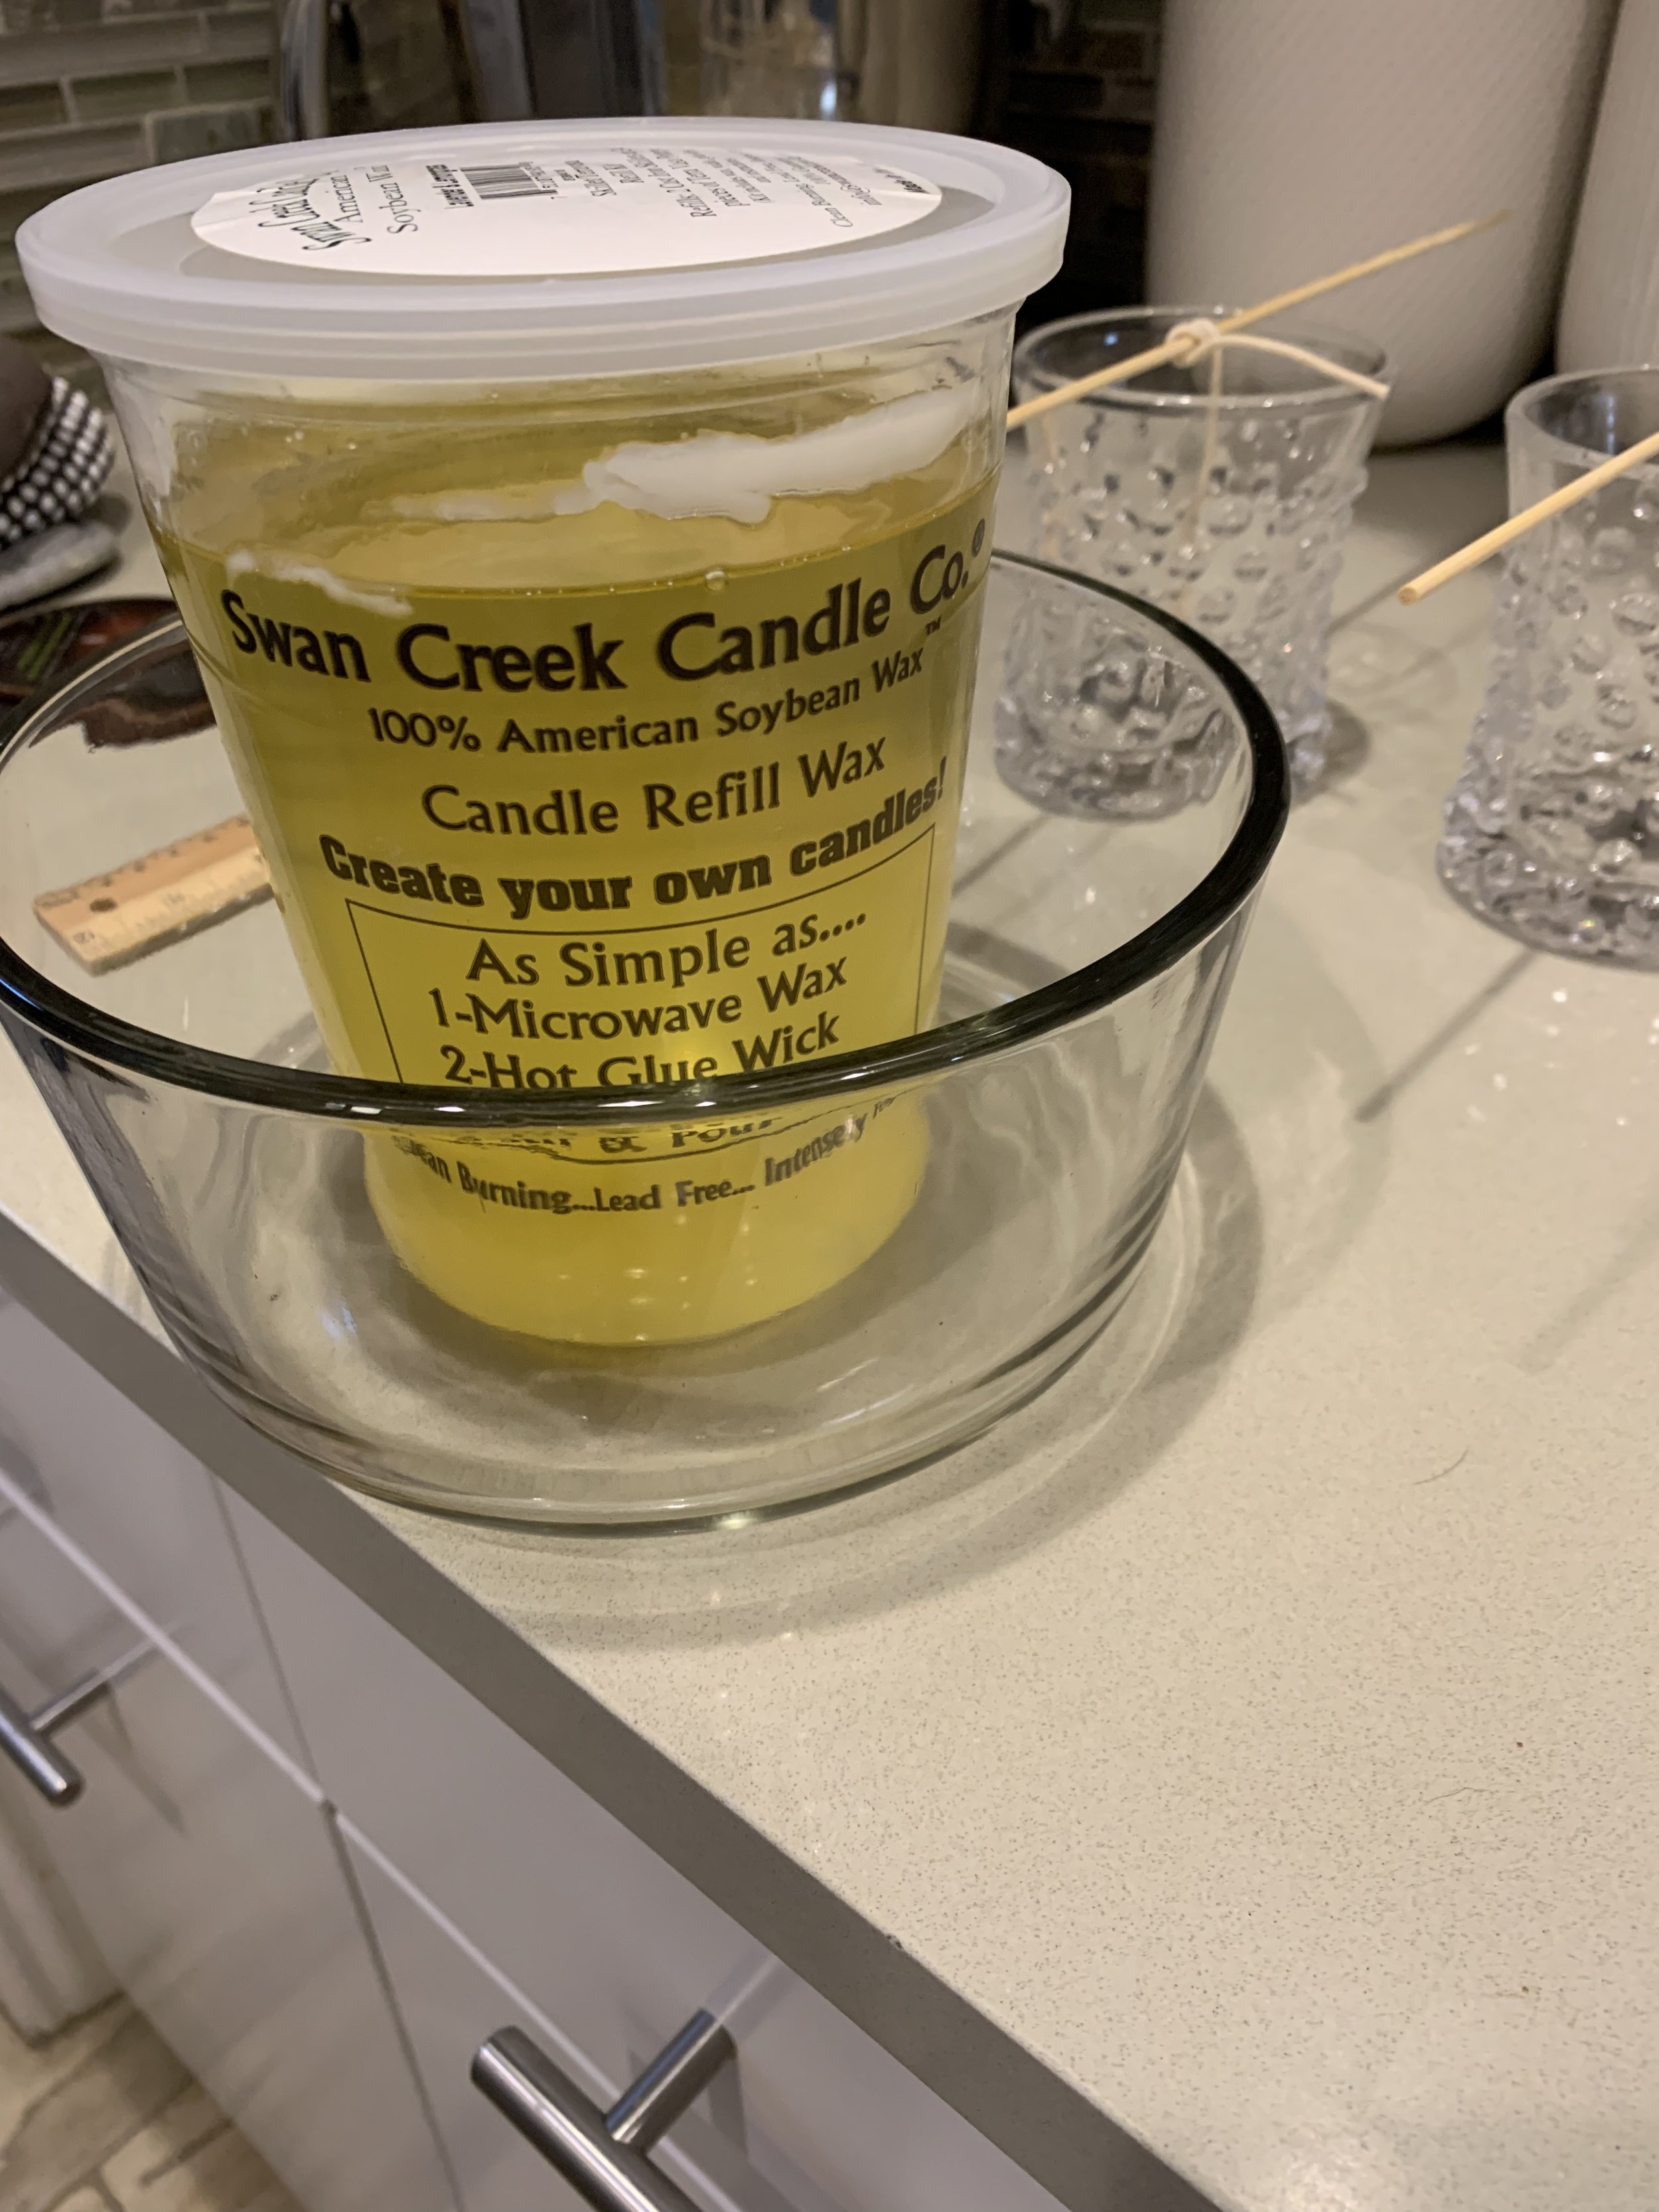
Swan Creek wax comes in a microwavable tub. It literally could not be easier! Definitely put it in a glass dish just to be safe in case you spill any. Microwave for a minute at a time until thoroughly melted. You can always stir with a wooden spoon (or one of those skewers) to help melt any last stubborn pieces.
6. Pour melted wax into prepped jars….and wait!
I dumped some wax into a small, plastic, flexible cup so it was easier to pour into the candle jars without spilling. Line your surface with wax paper if you’re worried about spills and want an easy clean up!
7. Once the wax has completely set, trim your wicks to about 1’4” and they’re ready to go!
Remember that extra wax from the old candles I mentioned earlier? Just drop it into the tub from Swan Creek or a disposable plastic cup, melt, and follow the same process! Then pat yourself on the back for being so resourceful :)
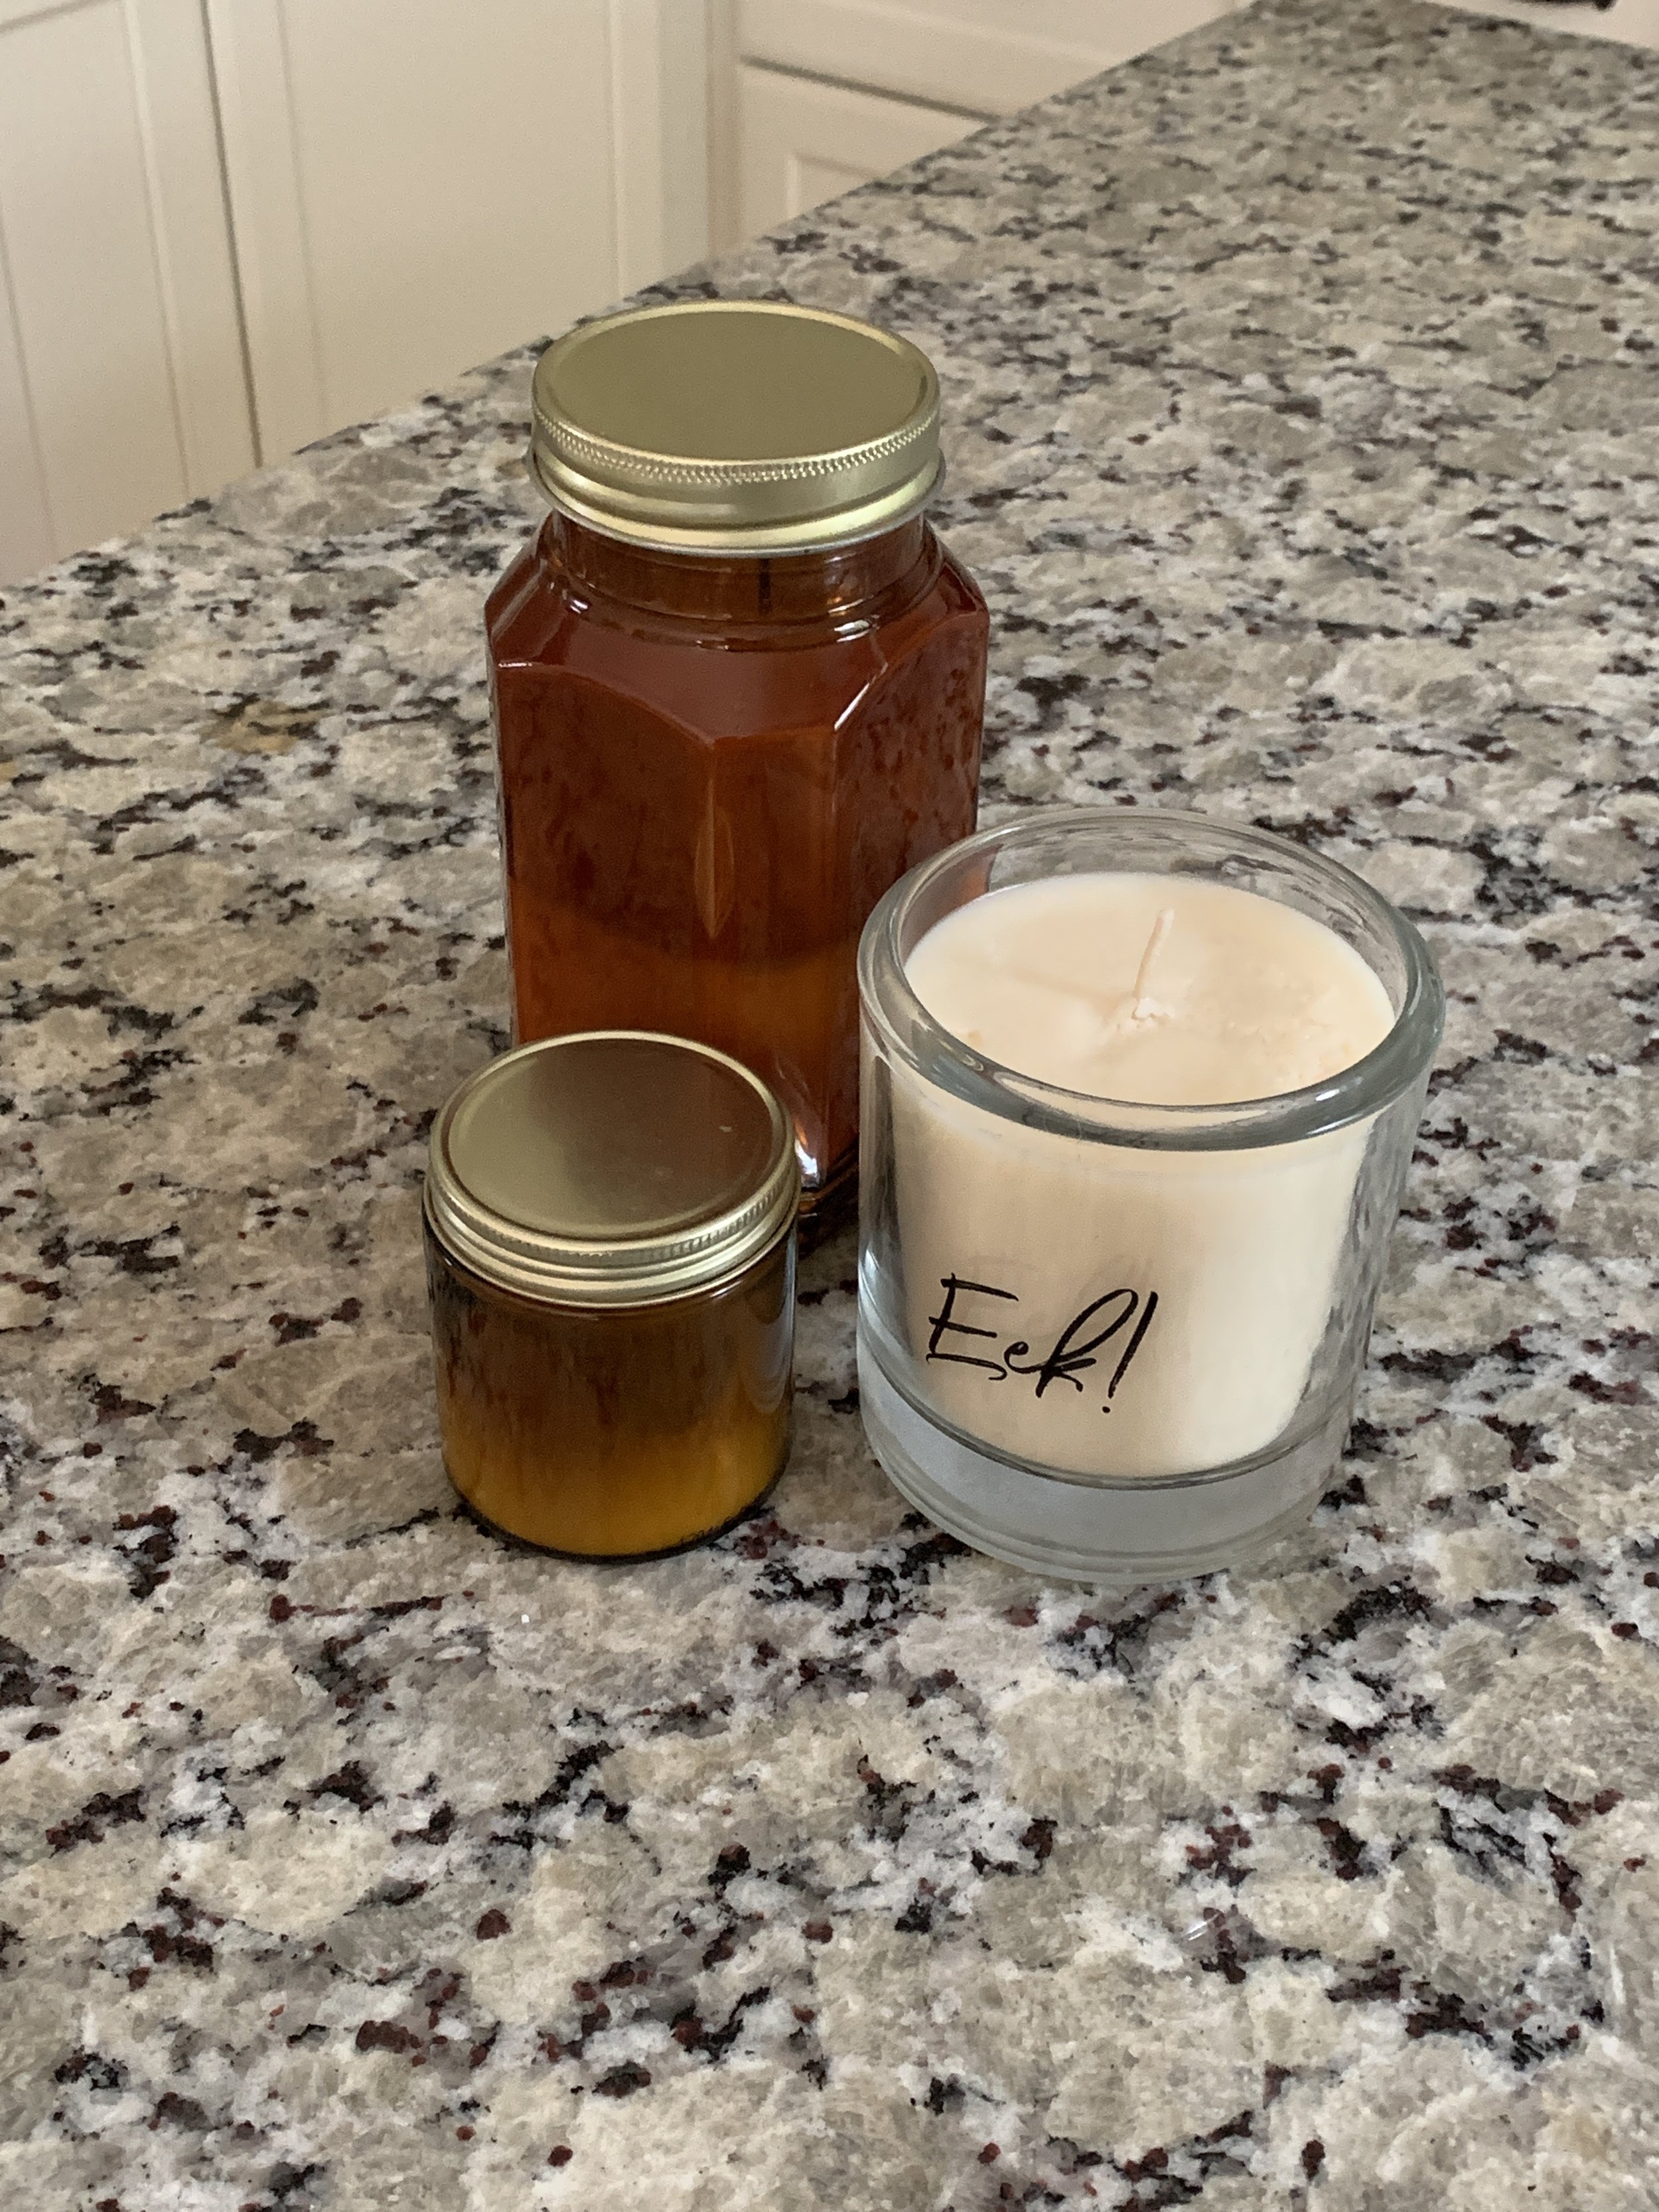
Two of these jars have been reused twice already! The jar in the back is two different layered scents.
*** Disclaimer: Do not try to make candles in your 400sq foot studio apartment with all the doors and windows closed or else you, your apartment and everything you own will smell like maple syrup for at least six months (if not longer) and you will then go to work every day wondering if your coworkers think you have some intense pancake breakfast ritual every morning. Not that I can personally attest to any of that….
….BE SURE TO HAVE PROPER VENTILATION/AIR FLOW!

